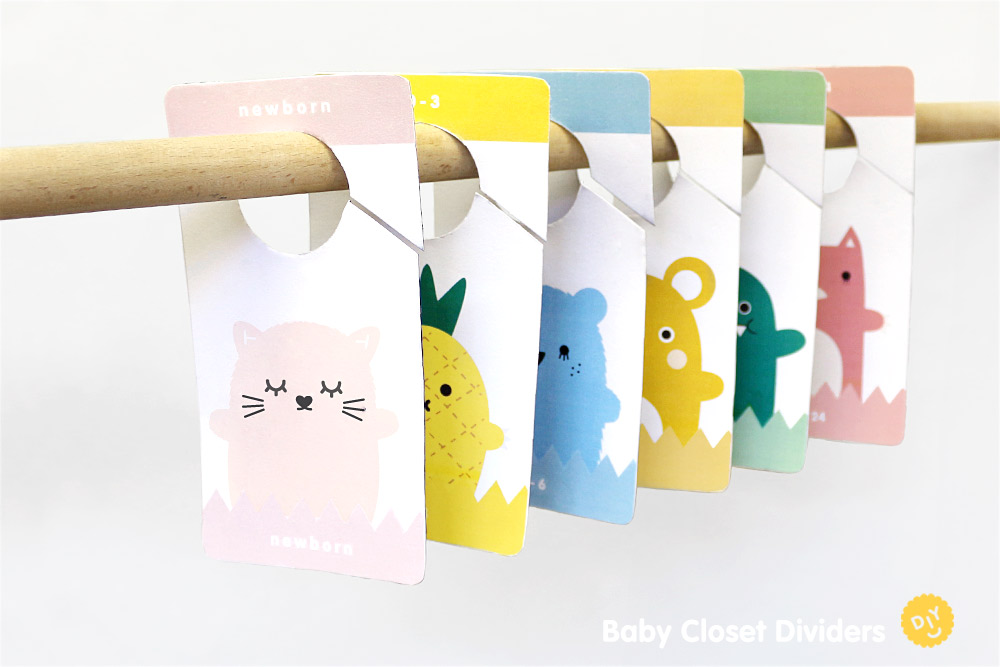
DIY Baby Closet Dividers
Get off to a good start this year and organise your home! This weekend you can learn to make some sweet Noodoll closet dividers to organise your baby's closet! Follow our simple steps to make your own.
Download your free templates here and follow the simple steps below to make your own DIY baby closet dividers.
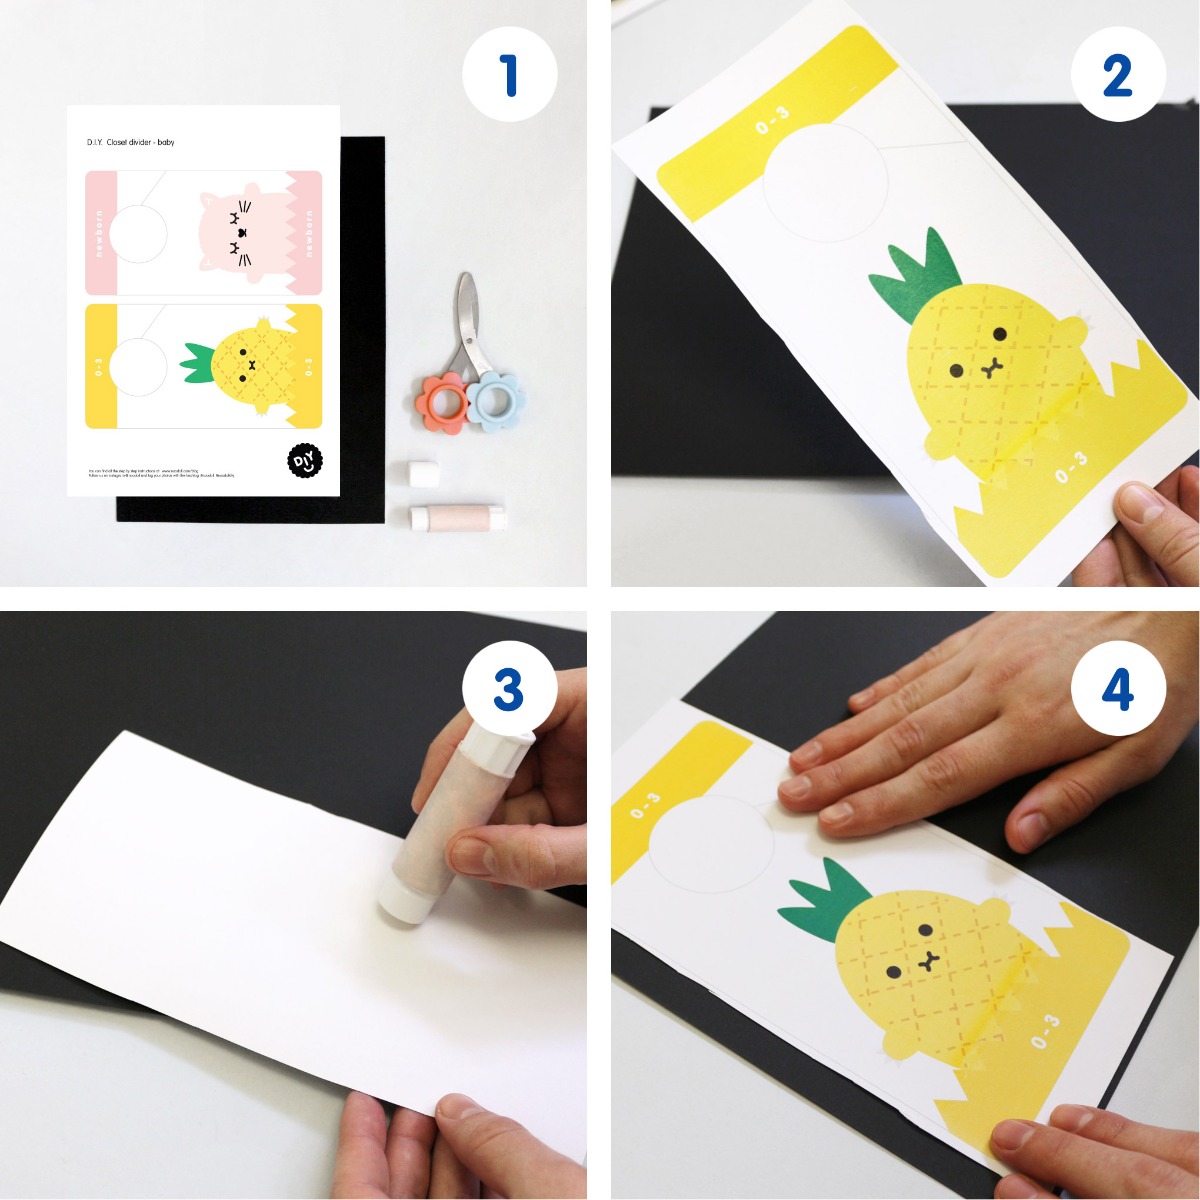 Step 1: For this DIY project you will need the templates printed on thick white paper, some sheets of coloured paper of your choice, a pair of scissors and glue stick.
Step 2: Cut around each closet divider shape leaving a bit of space around the edges.
Step 3: Glue the cut shape onto your coloured paper. You can use the same colour for each of them or choose different colours that you like.
Step 4: Make sure that the glue has dried and that your shape is glued down properly.
Step 1: For this DIY project you will need the templates printed on thick white paper, some sheets of coloured paper of your choice, a pair of scissors and glue stick.
Step 2: Cut around each closet divider shape leaving a bit of space around the edges.
Step 3: Glue the cut shape onto your coloured paper. You can use the same colour for each of them or choose different colours that you like.
Step 4: Make sure that the glue has dried and that your shape is glued down properly.
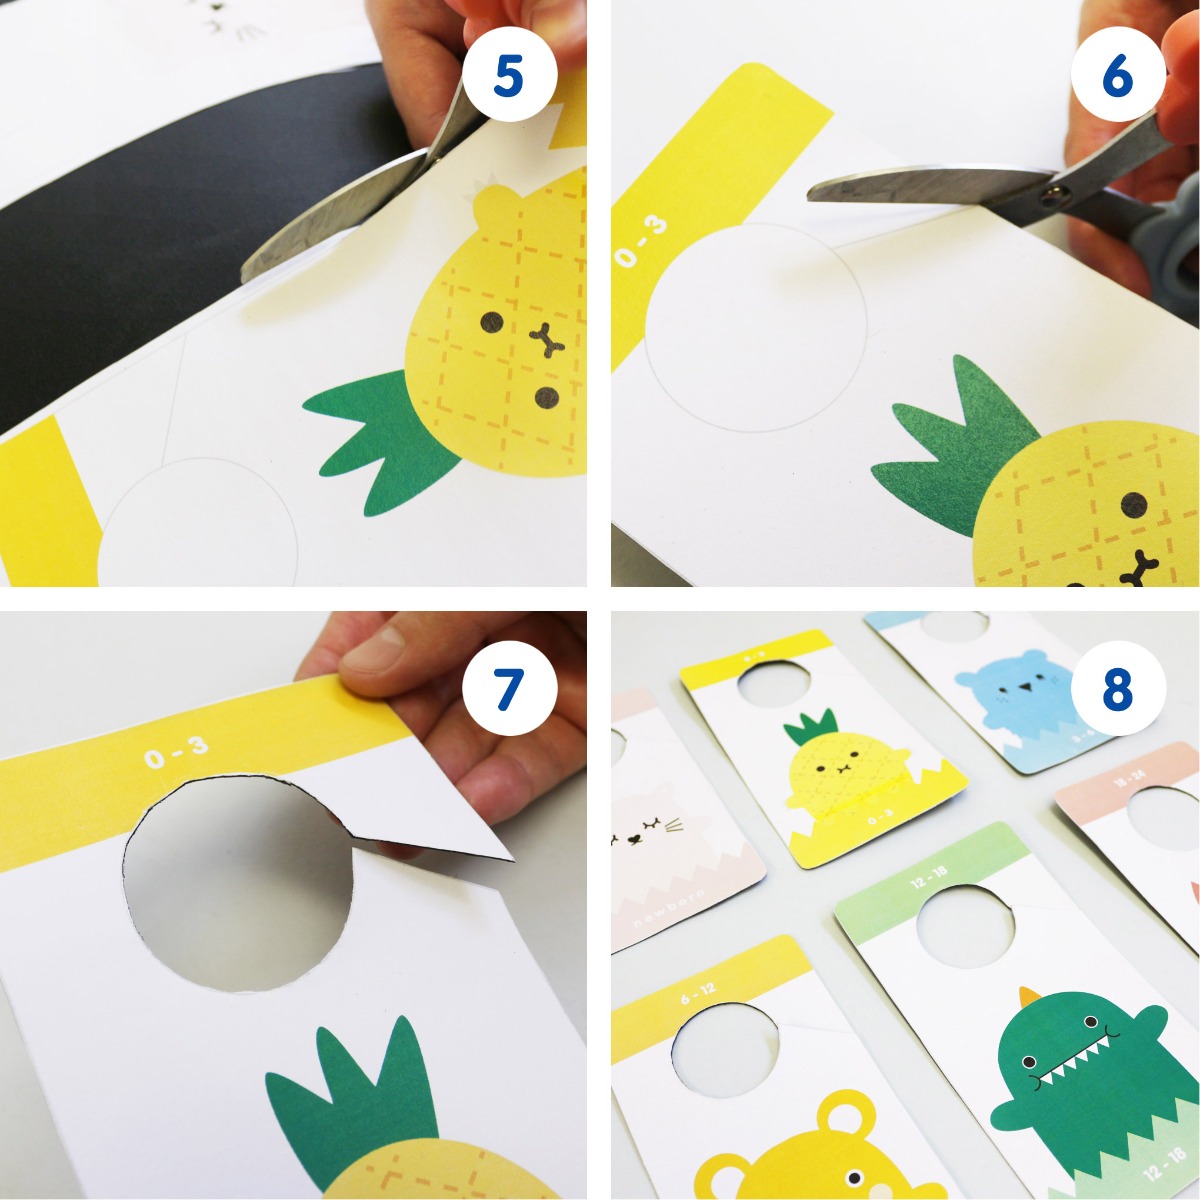 Step 5: Now you can cut around the dotted edges of the printed template, cuting both the template and the coloured paper background.
Step 6: Once you have cut around the divider, cut the inside around the circle that will hang up in the closet.
Step 7: Repeat with all the dividers you need and you will have a super organised closet!
Step 8: You can use this template to create more dividers for various different ages, you can even make your own designs!
Step 5: Now you can cut around the dotted edges of the printed template, cuting both the template and the coloured paper background.
Step 6: Once you have cut around the divider, cut the inside around the circle that will hang up in the closet.
Step 7: Repeat with all the dividers you need and you will have a super organised closet!
Step 8: You can use this template to create more dividers for various different ages, you can even make your own designs!
We hope that you enjoyed making these DIY baby closet dividers. Let us know if you come up with any other fun projects to organise your home! Don’t forget to share your DIY projects with us by tagging us on Instagram or Facebook with #noodoll
Step 1: For this DIY project you will need the templates printed on thick white paper, some sheets of coloured paper of your choice, a pair of scissors and glue stick.
Step 2: Cut around each closet divider shape leaving a bit of space around the edges.
Step 3: Glue the cut shape onto your coloured paper. You can use the same colour for each of them or choose different colours that you like.
Step 4: Make sure that the glue has dried and that your shape is glued down properly.
Step 5: Now you can cut around the dotted edges of the printed template, cuting both the template and the coloured paper background.
Step 6: Once you have cut around the divider, cut the inside around the circle that will hang up in the closet.
Step 7: Repeat with all the dividers you need and you will have a super organised closet!
Step 8: You can use this template to create more dividers for various different ages, you can even make your own designs!
We hope that you enjoyed making these DIY baby closet dividers. Let us know if you come up with any other fun projects to organise your home! Don’t forget to share your DIY projects with us by tagging us on Instagram or Facebook with #noodoll