Where are you based?
We'll find the best delivery options for you.
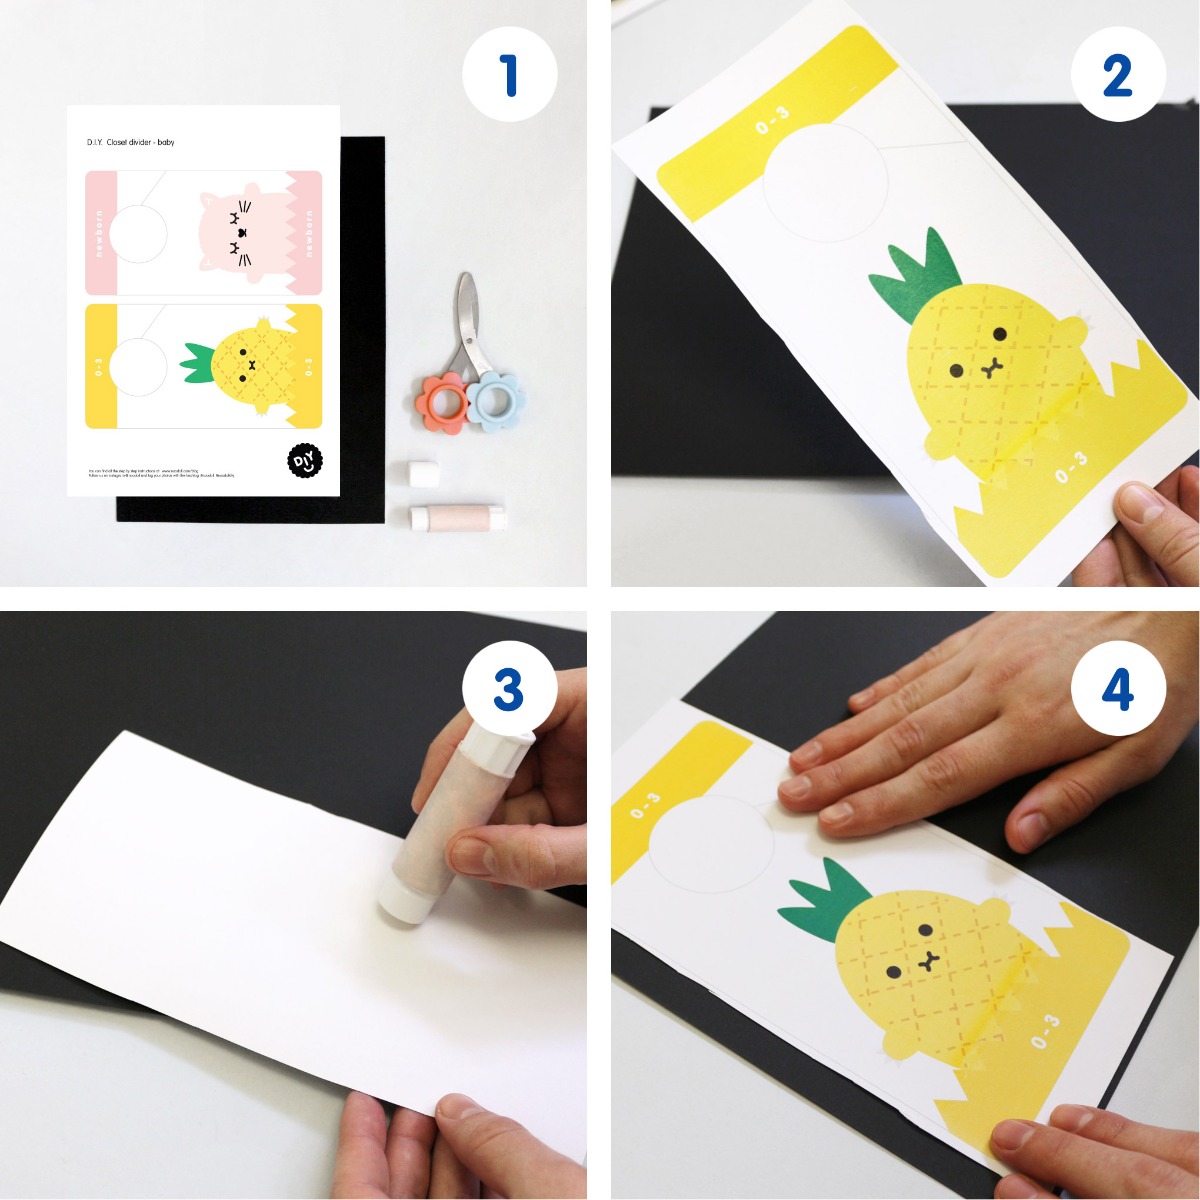 Step 1: For this DIY project you will need the templates printed on thick white paper, some sheets of coloured paper of your choice, a pair of scissors and glue stick.
Step 2: Cut around each closet divider shape leaving a bit of space around the edges.
Step 3: Glue the cut shape onto your coloured paper. You can use the same colour for each of them or choose different colours that you like.
Step 4: Make sure that the glue has dried and that your shape is glued down properly.
Step 1: For this DIY project you will need the templates printed on thick white paper, some sheets of coloured paper of your choice, a pair of scissors and glue stick.
Step 2: Cut around each closet divider shape leaving a bit of space around the edges.
Step 3: Glue the cut shape onto your coloured paper. You can use the same colour for each of them or choose different colours that you like.
Step 4: Make sure that the glue has dried and that your shape is glued down properly.
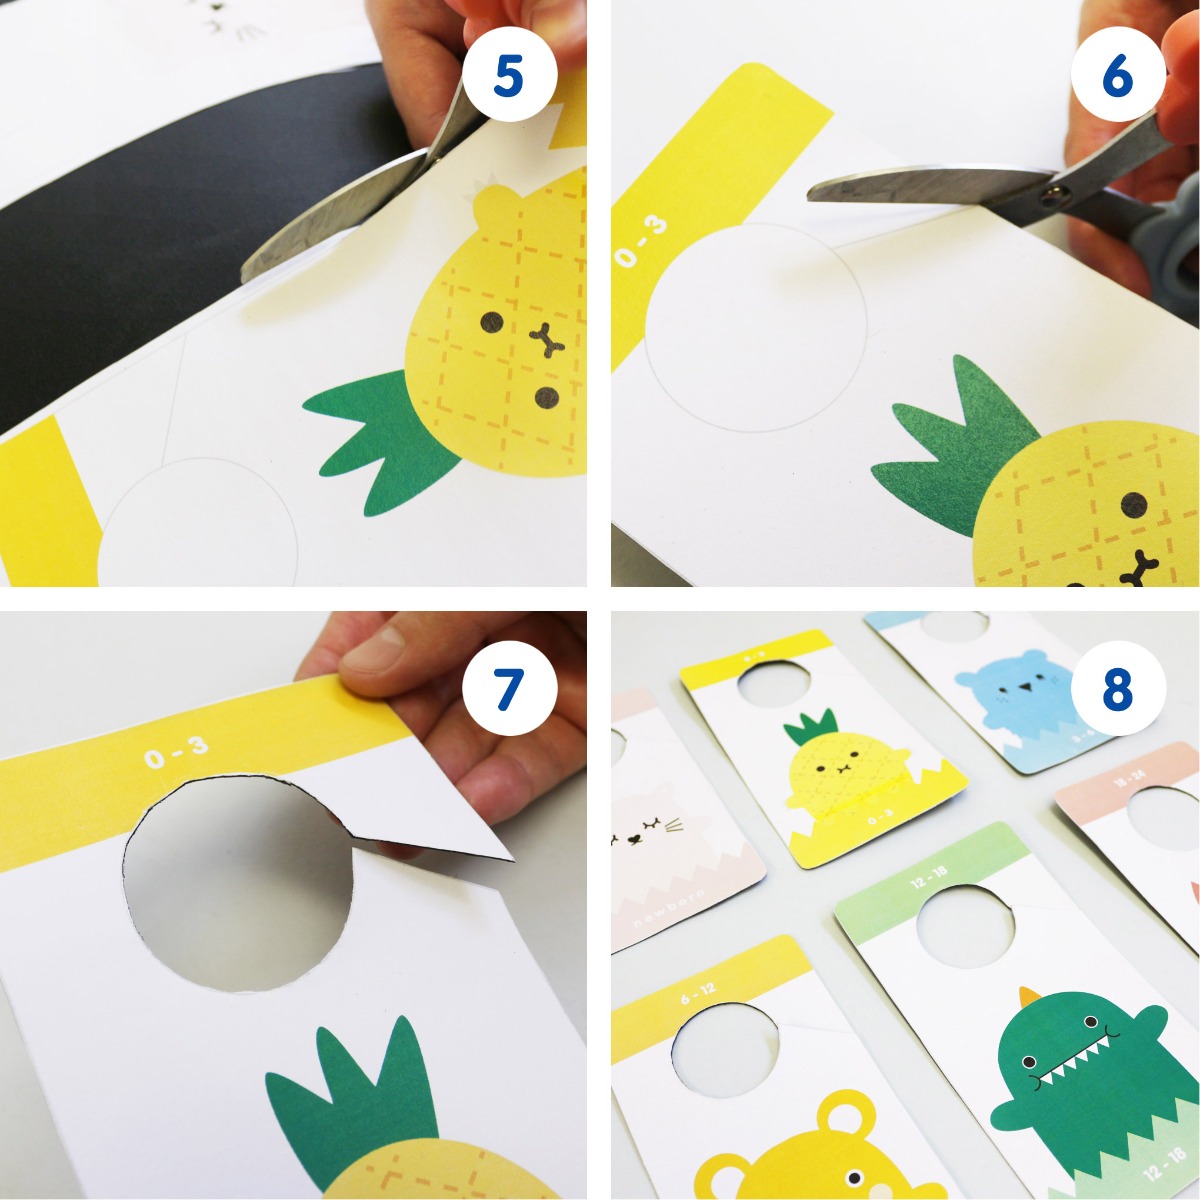 Step 5: Now you can cut around the dotted edges of the printed template, cuting both the template and the coloured paper background.
Step 6: Once you have cut around the divider, cut the inside around the circle that will hang up in the closet.
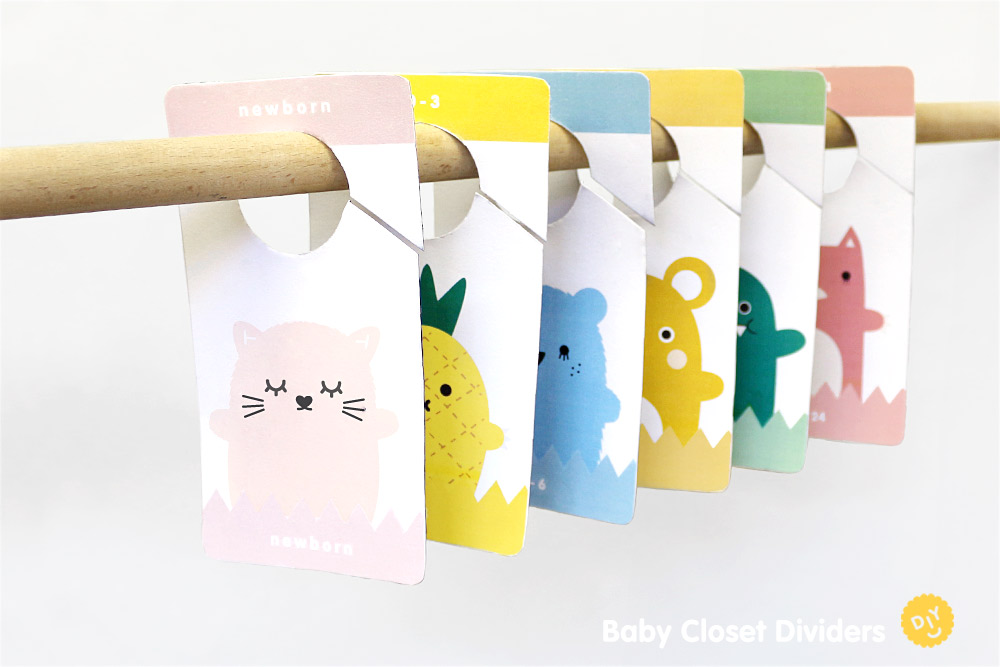
Step 7: Repeat with all the dividers you need and you will have a super organised closet!
Step 8: You can use this template to create more dividers for various different ages, you can even make your own designs!
Step 5: Now you can cut around the dotted edges of the printed template, cuting both the template and the coloured paper background.
Step 6: Once you have cut around the divider, cut the inside around the circle that will hang up in the closet.
Step 7: Repeat with all the dividers you need and you will have a super organised closet!
Step 8: You can use this template to create more dividers for various different ages, you can even make your own designs!
We'll find the best delivery options for you.