Where are you based?
We'll find the best delivery options for you.
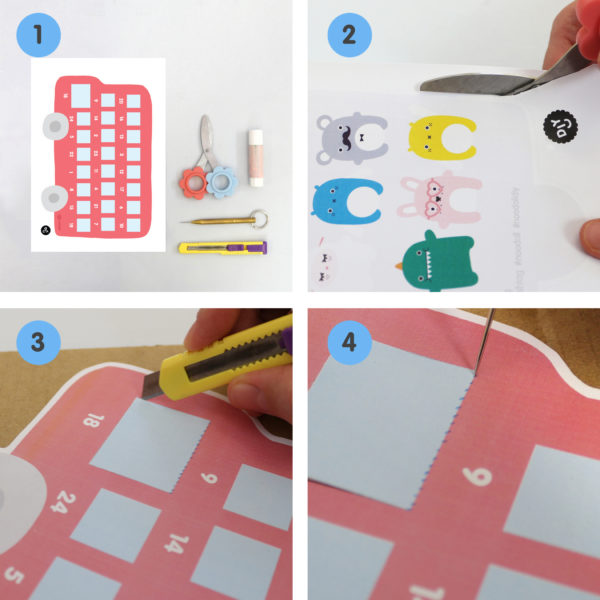
 Step 1: To make this DIY, you will need the printed template on A4 paper, a pair of scissors, a glue stick, some cardboard, a craft knife and a thick needle.
Step 2: Start by cutting out the bus shape on both printed templates, make sure to follow the dotted line around the bus to cut.
Step 3: Now cut the bottom and side edges of each bus window using a craft knife. You can use a ruler to make sure that you cut straight along the edges.
Step 4: Lay your bus shape on top of a piece of cardboard and press some holes on the top edge of each window using your needle.
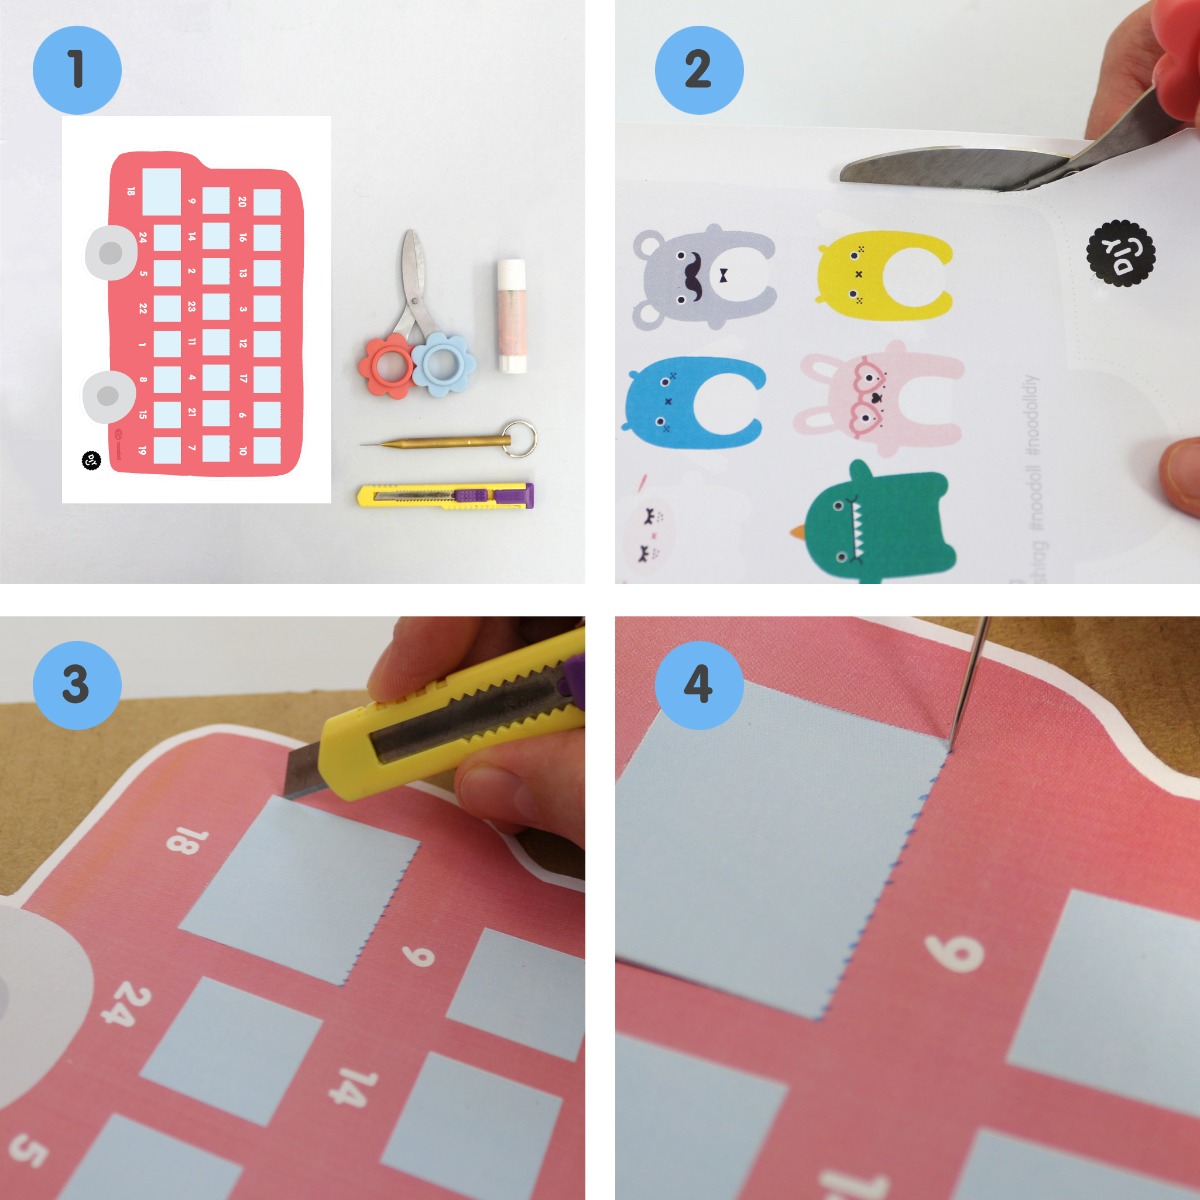
Step 1: To make this DIY, you will need the printed template on A4 paper, a pair of scissors, a glue stick, some cardboard, a craft knife and a thick needle.
Step 2: Start by cutting out the bus shape on both printed templates, make sure to follow the dotted line around the bus to cut.
Step 3: Now cut the bottom and side edges of each bus window using a craft knife. You can use a ruler to make sure that you cut straight along the edges.
Step 4: Lay your bus shape on top of a piece of cardboard and press some holes on the top edge of each window using your needle.
 Step 5: Keep making holes with your needle along the top edge of each window.
Step 6: Put some glue on the back of your bus shape, make sure to not put any glue on the bus windows.
Step 7: Carefully glue the two bus shapes together, making sure that the edges are matching.
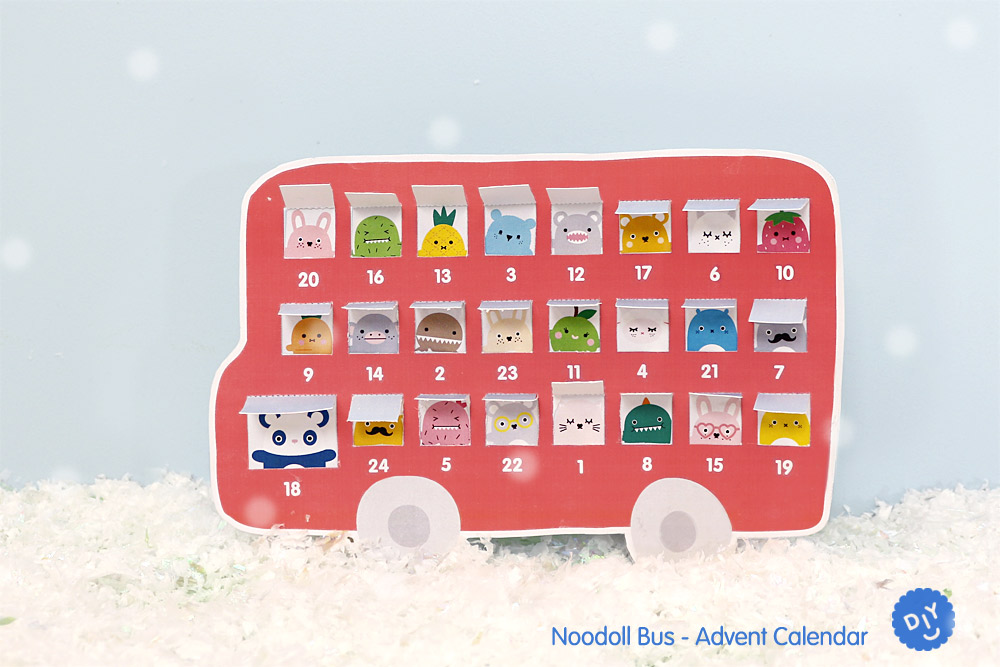
Step 8: Your advent calendar bus is ready! Each day, you can rip the corresponding window to help you count down to Christmas day.
Step 5: Keep making holes with your needle along the top edge of each window.
Step 6: Put some glue on the back of your bus shape, make sure to not put any glue on the bus windows.
Step 7: Carefully glue the two bus shapes together, making sure that the edges are matching.
Step 8: Your advent calendar bus is ready! Each day, you can rip the corresponding window to help you count down to Christmas day.
We'll find the best delivery options for you.