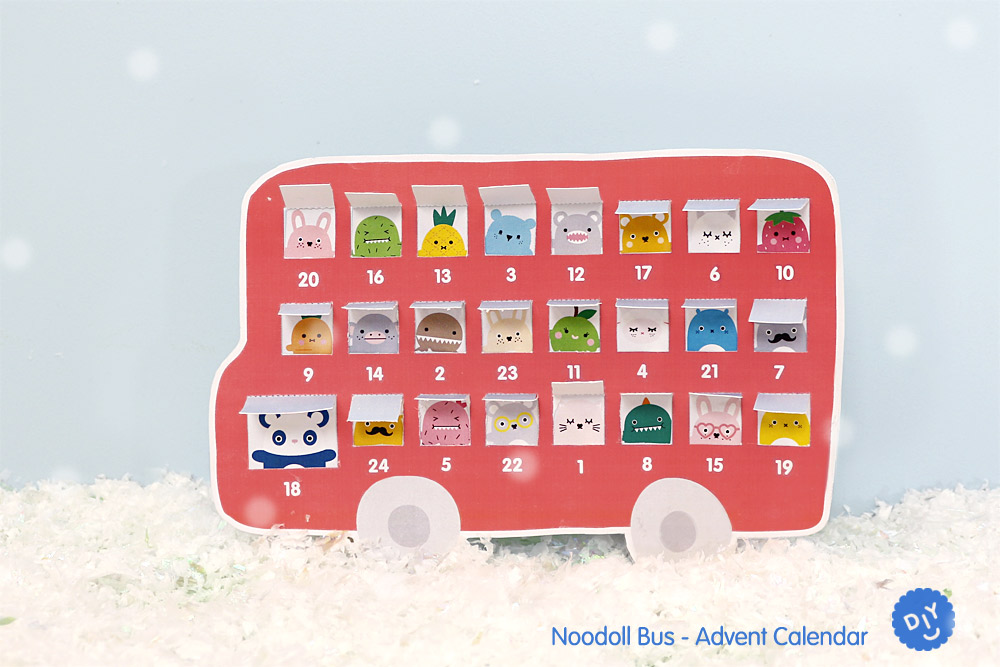
DIY Advent Calendar Bus
The countdown to Christmas is just a week away, just enough time to make this fun advent calendar bus! Follow the instructions below to make this fun calendar and use it to count the days remaining until Christmas!
The countdown to Christmas is just a week away, just enough time to make this fun advent calendar bus! Follow the instructions below to make this fun calendar and use it to count the days remaining until Christmas! Download your free template here and follow the simple steps below to make your own DIY Advent Calendar Bus!
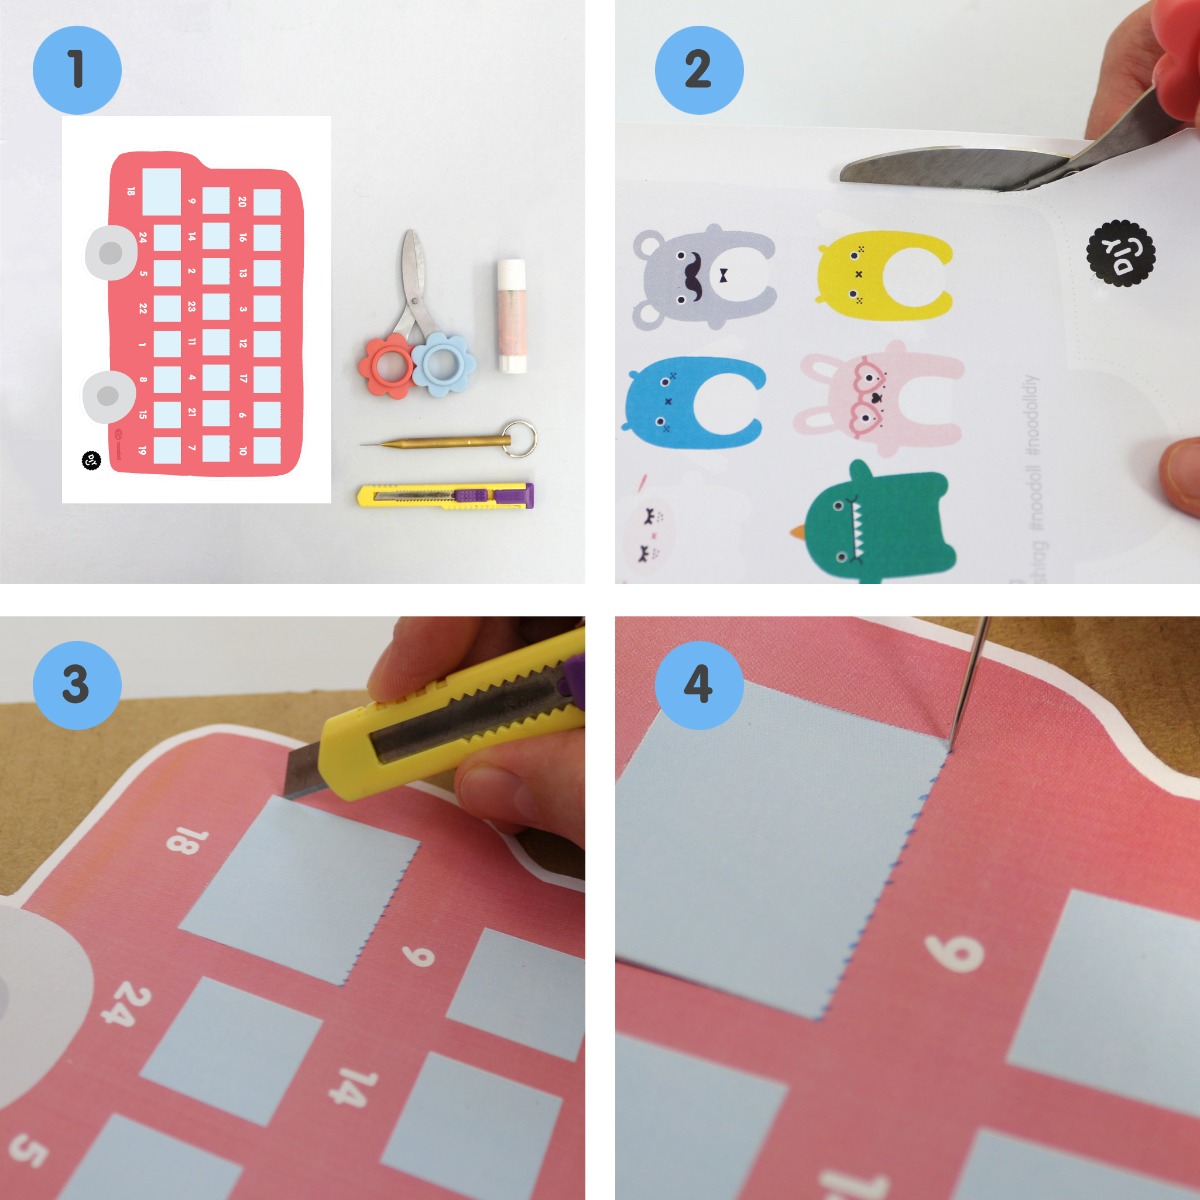 Step 1: To make this DIY, you will need the printed template on A4 paper, a pair of scissors, a glue stick, some cardboard, a craft knife and a thick needle.
Step 2: Start by cutting out the bus shape on both printed templates, make sure to follow the dotted line around the bus to cut.
Step 3: Now cut the bottom and side edges of each bus window using a craft knife. You can use a ruler to make sure that you cut straight along the edges.
Step 4: Lay your bus shape on top of a piece of cardboard and press some holes on the top edge of each window using your needle.
Step 1: To make this DIY, you will need the printed template on A4 paper, a pair of scissors, a glue stick, some cardboard, a craft knife and a thick needle.
Step 2: Start by cutting out the bus shape on both printed templates, make sure to follow the dotted line around the bus to cut.
Step 3: Now cut the bottom and side edges of each bus window using a craft knife. You can use a ruler to make sure that you cut straight along the edges.
Step 4: Lay your bus shape on top of a piece of cardboard and press some holes on the top edge of each window using your needle.
 Step 5: Keep making holes with your needle along the top edge of each window.
Step 6: Put some glue on the back of your bus shape, make sure to not put any glue on the bus windows.
Step 7: Carefully glue the two bus shapes together, making sure that the edges are matching.
Step 8: Your advent calendar bus is ready! Each day, you can rip the corresponding window to help you count down to Christmas day.
Step 5: Keep making holes with your needle along the top edge of each window.
Step 6: Put some glue on the back of your bus shape, make sure to not put any glue on the bus windows.
Step 7: Carefully glue the two bus shapes together, making sure that the edges are matching.
Step 8: Your advent calendar bus is ready! Each day, you can rip the corresponding window to help you count down to Christmas day.
We hope that you enjoyed making this Advent Calendar Bus. Let us know if you come up with any other fun Ricemonster advent ideas! Don’t forget to share your DIY projects with us by tagging us on Instagram or Facebook with @ilovenoodoll!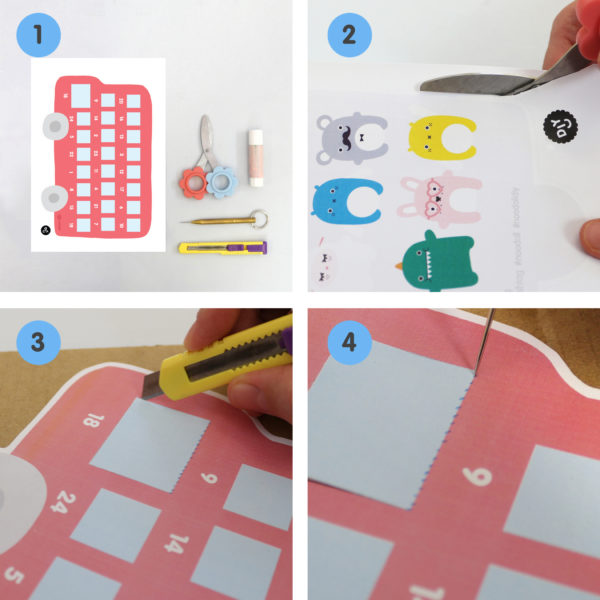